I was going through one of those turbulent times when a person feels lost and needs to escape from the busy chaos of everyone and everything.
BOOKING BANNERI (Multicurrency QA)
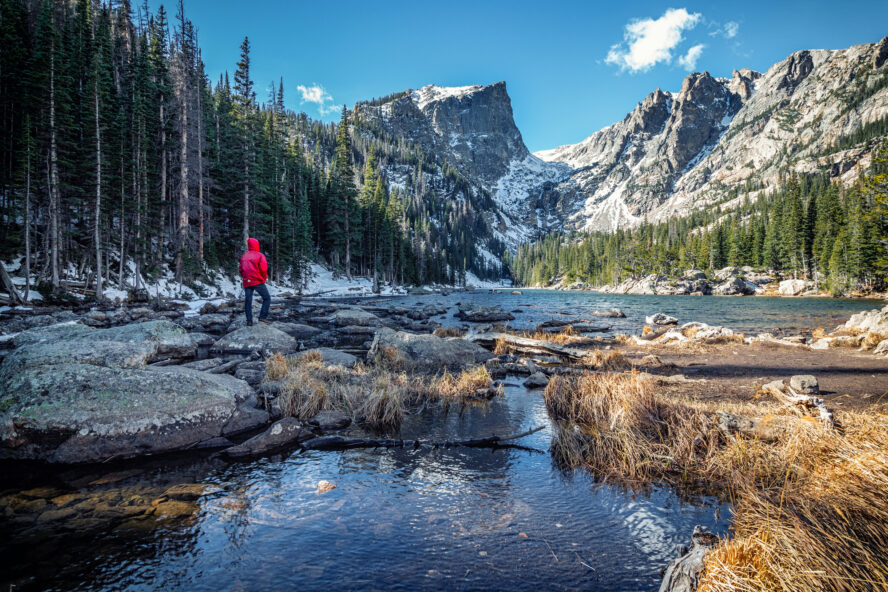
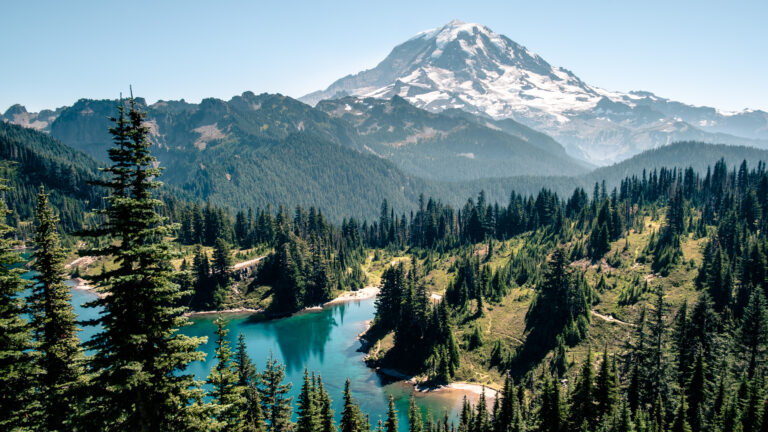
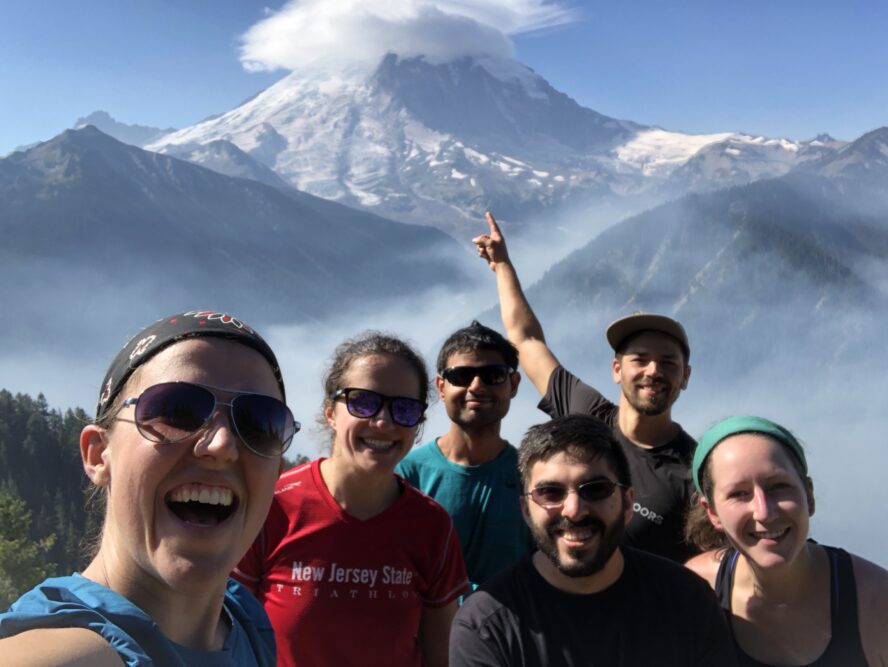
Living in New York, I chose a location as far away as I could fathom and went west, to hike around Mt. Rainier. While solo backpacking, I found the solitude I was craving—swaddled by a dense fog, enmeshed in crisp autumn air, everything still and silent, it freed me from the distractions jostling about in my mind.
Then, a few days in, I rounded a corner in the trail and the buck stopped.
Huge antlers stood in front of me. Calm eyes locked on mine, a look in his eyes that seemed to say, “it’s cool, everything is going to be okay.” I burst into tears, and at that moment, I felt like I belonged.
I soon left the east coast and have been in the Pacific Northwest ever since. Now, as a professional guide, I try to help others find their own clarity in nature.
Pros and Cons of Hiking Mount Rainier
Mount Rainier Is More Than Just Mountaineering
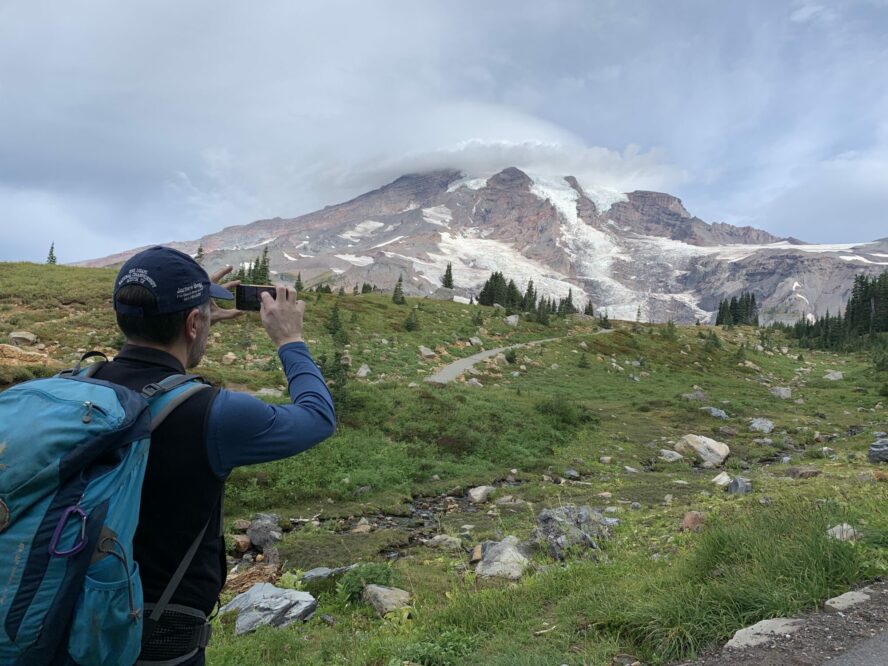
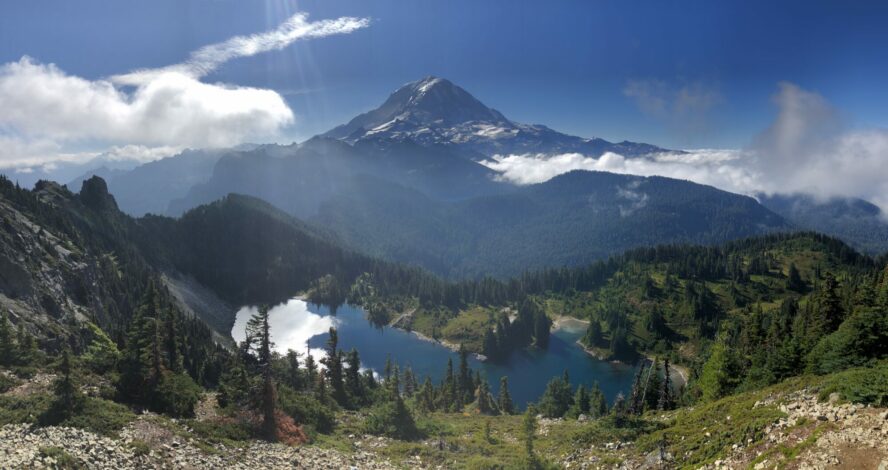
When people think of Mount Rainier, they often imagine experienced climbers pitching towards the summit. It’s no wonder, the snow-capped peak towers above the Washington horizon rippling with over 35 square miles of ice and 25 named glaciers; it is the premiere mountaineering objective in the lower 48.
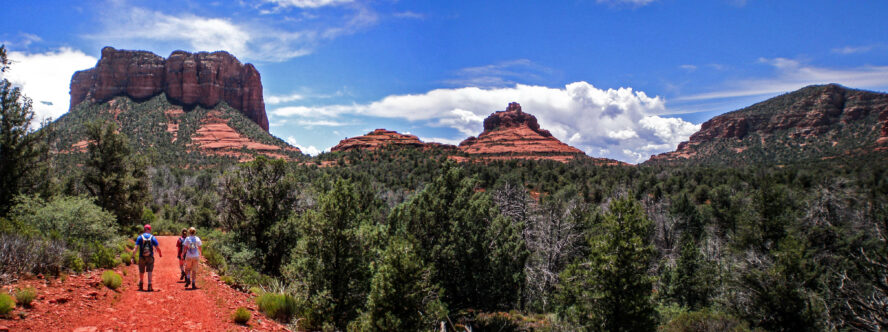
However, during my visits I quickly realized Rainier is not just for those who carry an ice tool or two. For one, the place is huge! At over a quarter million acres of evergreen forests, alpine meadows, and rocky volcanic debris, there is plenty more than the perennial snow patches to explore. In fact, outside of the climbing world, Mt. Rainier may be better known for its hikes and wildflowers, which are as about as varied as hiking in San Diego, than mountaineering routes.
During winter, cross-country skiing, snowshoeing, and sledding are alternate lower-elevation activities to enjoy, while in the warmer months, Mount Rainier National Park is popular for rock climbing, fishing, and hiking that’s as varied as the backpacking in Big Sur, which I’ll be happily talking about here.
My Recommended Hikes in Mt. Rainier
Pick and choose your adventure
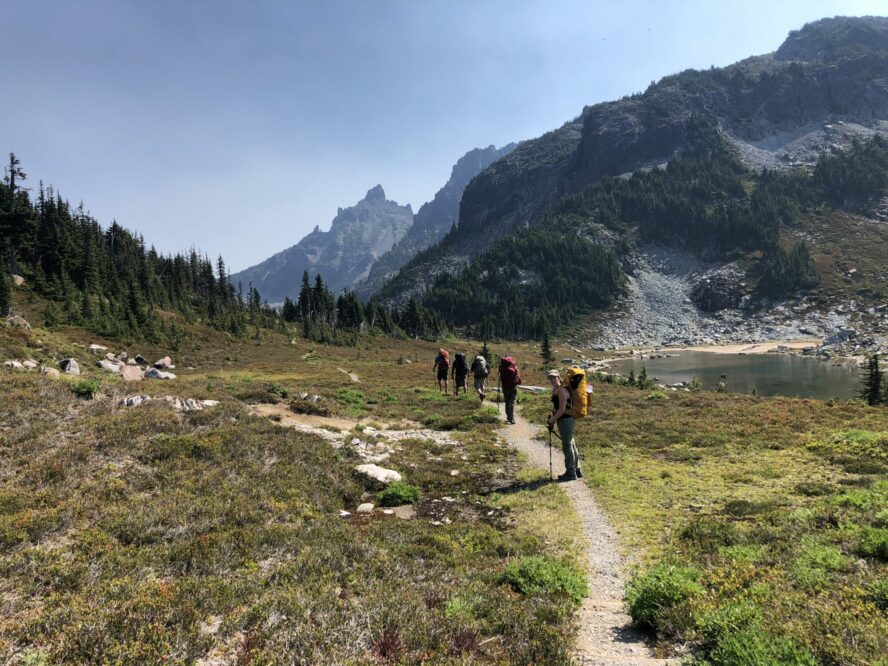
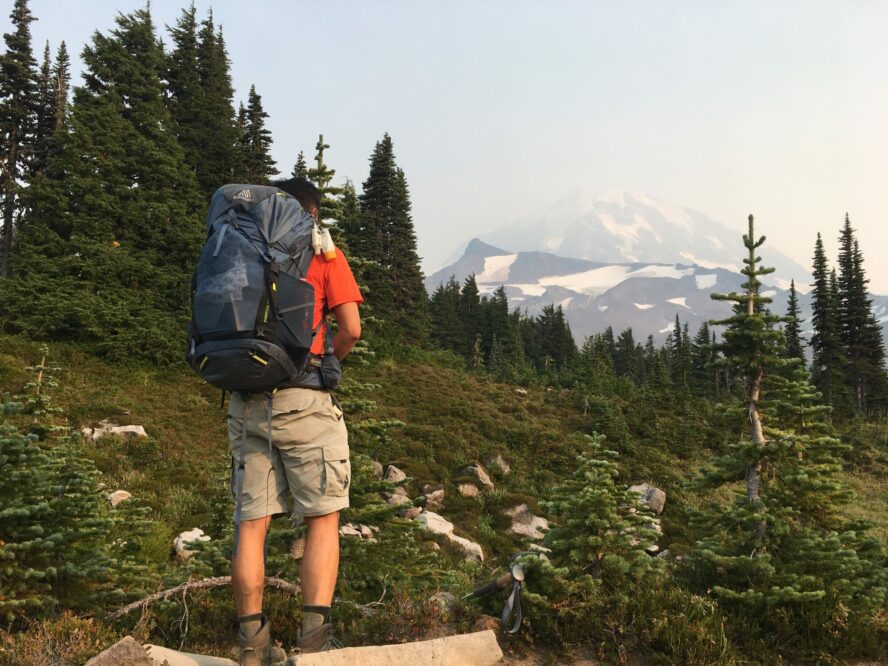
Mt. Rainier has plenty of hikes with over 150 mapped trails, ranging from a sub-mile meander to Myrtle Falls to the nearly 100-mile Wonderland Trail that circumnavigates the mountain. Part of my job as a guide is to check out trails before leading trips to ensure they meet the clients’ needs, wants, and capabilities. Using that experience, I have compiled five of my favorite hikes on Mt. Rainier for different hiking levels.
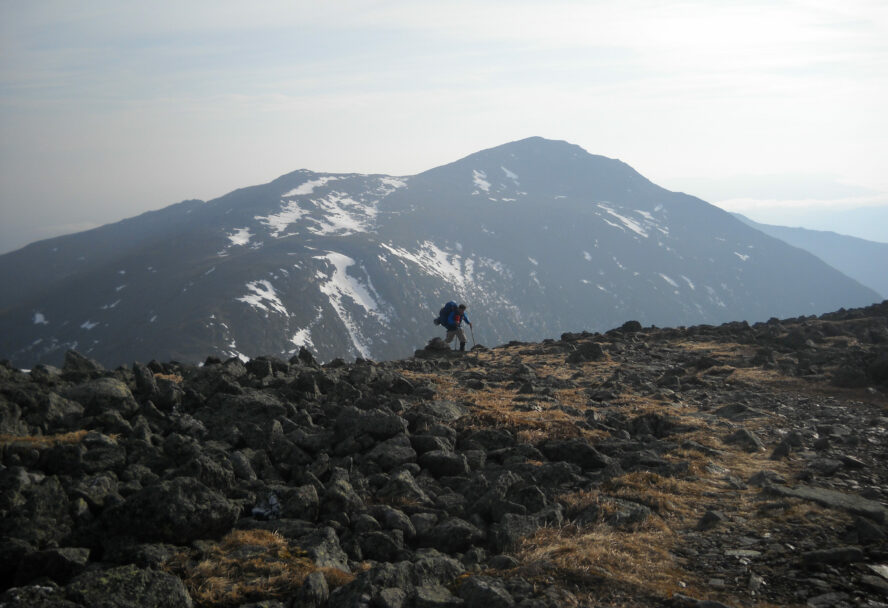
1. Skyline Trail to Camp Muir
The Skyline Trail to Camp Muir gives hikers a taste of climbing Mt. Rainier—and is one of my favorite hikes. One of the more popular routes out of the Paradise entrance, you gain epic views of the tallest peak in the state while trekking through several geographical zones, and can glimpse diverse wildlife to rival the best hikes in Yellowstone, including marmots, pikas, and sometimes, even foxes. You end up at Camp Muir, a hewn-stone base camp where climbers stay before summiting Mount Rainier.
Covering 8.4 miles out-and-back and gaining over 4,500 feet in elevation, the trail is considered challenging. You also have to contend with rapid weather changes. But don’t let those numbers scare you. This trail is noncommittal; you may encounter snow, but if you are not prepared with warm clothes, microspikes, and hiking poles, you can always turn around or follow one of the connecting trails instead.
Avoid the crowds
If looking for a little more solitude or a better chance to take unobstructed photos, aim to go early in the day or during the week. However, if you get stuck in the rush, aim to keep going—people often turn back as the trail gets more challenging.
2. Tolmie Peak Trail
Tolmie Peak is one of my all-time favorite hiking trails. To get here you first have to go up a crazy road, and you want to make sure you have a vehicle that can handle it because it is horribly dusty, windy, and bumpy. Once you’re at Mowich Lake, your legs will have to do the rest. Coming out through the trees, you’ll get a fantastic view of Mount Rainier.
This is challenging but less demanding than Skyline. It’s 5.6 miles out-and-back and covers about 1,541 feet of elevation. The first 1.5 miles is full of undulating terrain, with a series of switchbacks to Eunice Lake. Once you reach the lake, you are greeted with wildlife and excellent sights of the mountain. Many people get tempted to end the hike here, but I encourage you to continue up the switchbacks to the lookout tower.
Autumn is prime time
As the day goes on, clouds can accumulate, so aim to go in the early-morning. Also, if you hike late in the summer months or early autumn, the trail is full of delicious berries to eat. Keep in mind that wildlife love them too, so mind larger animals and keep your distance.
3. Burroughs Mountain Trail
Named for the naturalist and essayist, John Burroughs, this trail leads you through arid, volcanic debris, rocky-ashy mixture, and minimal vegetation that will make you feel closer to Mars than Mount Rainier. It also provides a different perspective of the mountain, especially on the northern part of the loop which is considered the most accessible tundra in the Cascades—and where the trail is often less crowded. Following a series of peaks, you’ll encounter rare plants that are able to survive in this harsh environment.
An all day adventure
The Burroughs Mountain Trail is the longest of the five. Starting near Paradise Inn, this 9.4 miles loop trail covers 2,562 feet, which for most is an all-day hike. Expect the area to be dry and dusty, and considering the length, make sure to bring extra water and snacks.
4. Mount Freemont Lookout Trail
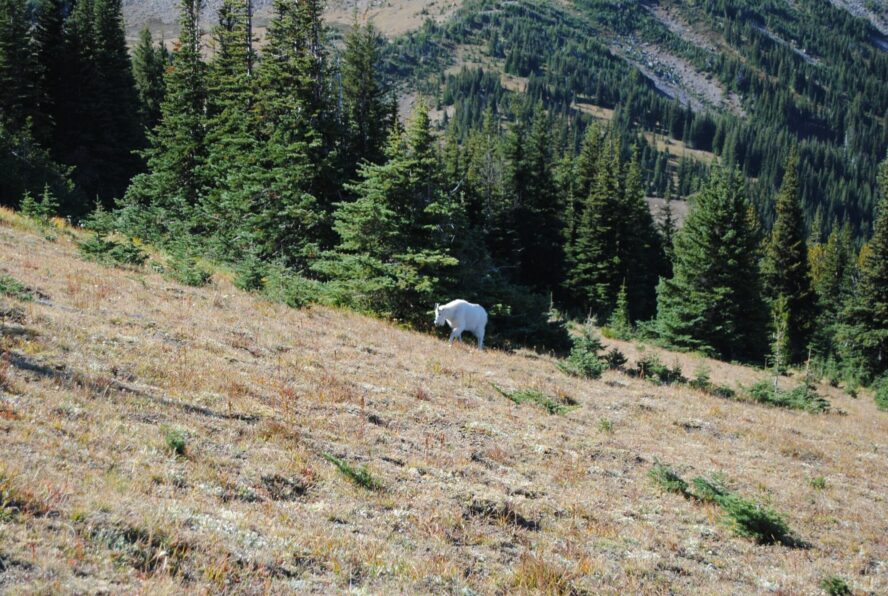
I enjoy this trail because it’s easy to get to from the parking lot and showcases unique patches of flora along the way—and sometimes mountain goats too. It is 5.7 miles out-and-back from the Sunrise Visitor Center, with an elevation gain of 1,118 feet, and is a popular trail for hikers and trail runners. Rough but beautiful, the route follows a rocky and volcanic ridge, making this more exposed than others on the list. Because of the rough, uneven path, wear sturdy shoes and consider trekking poles too.
Avoid poor weather
If the weather is poor with low visibility or snow, I wouldn’t suggest this trail because it’s can get slippery. With that said, the crummier the weather, the less crowded it typically is.
5. Naches Peak Loop
Naches Peak Loop is an enjoyable, shorter trail for various fitness levels or if you are unsure about your physical stamina. A moderate 3.3-mile loop, it ascends roughly 600 feet of elevation, and likewise, it is often crowded because of its accessibility. You begin near Paradise Inn at Tipsoo Lake parking lot and will want to go clockwise for the best views, which even rival the best Grand Canyon hikes.
Pair with another trail
If you want to keep exploring, try pairing Naches Peak with another short hike or attempt the Skyline—remember, no need to go all the way to appreciate the views.
How to Plan Your Day Hikes in Mount Rainier National Park
Best time to visit
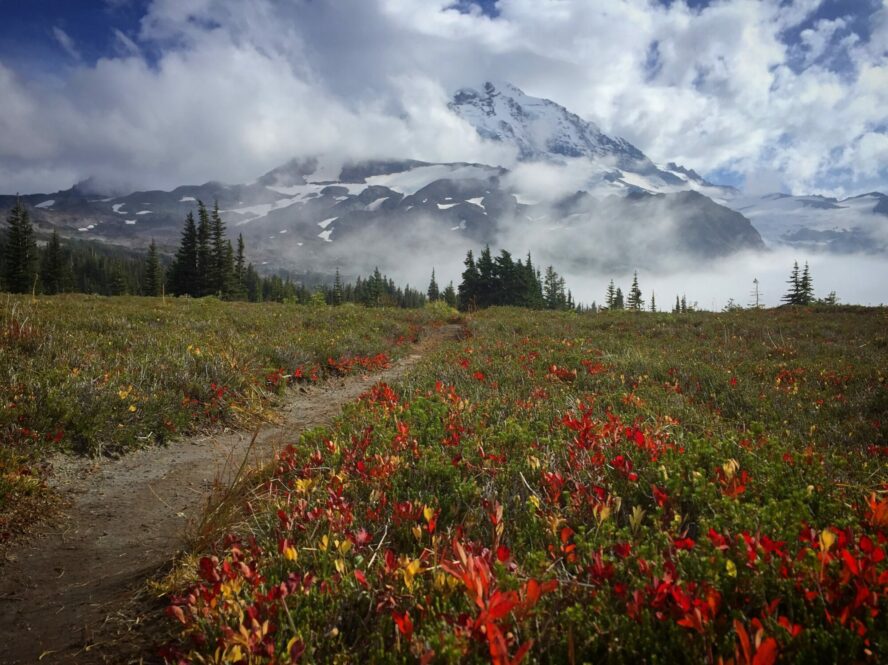
Typically the best time to hike Mount Rainier is July through August. However, from my experience, spring is lovely because you’ll experience a rainbow of wildflowers to rival the best Joshua Tree hikes: avalanche lilies, purple shooting stars, and asters, to name a few. Although, sometimes you’ll be competing with snow, especially at a higher elevation.
My favorite time to go is early fall or early summer, when there’s active wildlife: deer, pika, flowers, and loads of blueberries to eat. I also like to go during the shoulder season—after kids go back to school—–to avoid the crowds. But, there’s a high risk of encountering smoke from wildfires, which is becoming more problematic.
Navigation and guidebooks
When I travel to new locations, I often get my beta from online resources. Websites like Alltrails and park websites like the National Park Service provide useful information. If you want something tangible to carry with you, I recommend Moon Travel Guides; their books offer details for hiking trails and cover several locations. If I can plug myself, check out my recommendations for the 5 Best Hikes in Washington if you want to extend beyond Mount Rainier.
Where to start your hike in Mount Rainier National Park
Mount Rainier has four main entrances: White River/Sunrise, Stevens Canyon, Nisqually, and Carbon River. The most popular entrance from Seattle is Nisqually because it’s open all-year round.
Snacks and water
The longer the trail, the more water and snacks you need to bring. When it comes to how much water, I often tell clients to take three liters to err on the side of safety. While many people can get away with only two, I wouldn’t recommend anything less.
For food, bring plenty of snacks—both savory and sweet so that you have options. I like to pack dried sunflower seeds and chickpeas or Impossible Jerky. Remember not to take anything you don’t like, otherwise you won’t enjoy it and it adds extra weight. Also, avoid eating one large meal as it can make you feel sluggish afterward, and it doesn’t keep your energy levels consistent. Ultimately, when you start to feel drained or find yourself lagging, take a moment to stop and have a little something.
No hiking with animals
Dogs and other pets are prohibited on all trails in the park. To help protect the wildlife, leave your pup, and felines, at home. You can learn more about Mount Rainier’s pet policies here.
Leave No Trace
As a guide and someone who loves nature, I am strict at following the rules: the Leave No Trace principles are no exception. Everything you pack in, make sure to pack it out, ultimately leaving the area better than how you found it.
Expenses: Entrance and backpacking permit
Entrance fee
The park requires an entrance fee, which is $30 for a single vehicle. If you plan on visiting more than once, you can purchase a Mount Rainier Annual Pass for $55. For other modes of transportation—motorcycles, walk-ups, and bikes—you can find the park’s fees here. Also, if you plan on visiting other parks over the summer, I suggest purchasing the America the Beautiful Pass for $80—it is your ticket to more than 2,000 federal recreation sites, including national parks and national wildlife refuges, for up to four people per vehicle.
Need more reasons to get an America the Beautiful Pass? Find inspiration by checking out The 10 Best Hikes in the USA For Every Type of Adventurer.
Backpacking permit
You’ll need a permit to backpack too. Unfortunately, popular backpacking trails like the Wonderland are highly sought after, which makes these challenging to get online. However, the park reserves some permits for in-person pick-ups, though the numbers are limited. While permits can be a hassle and discouraging when you can’t get one, they are necessary to regulate foot traffic to help protect the environment.
Gear to bring
If you’re a beginner hiker, one tip I recommend is having a checklist for gear, which can make the packing process more efficient. As mentioned, Mount Rainier is at a high elevation with glaciers, which means snow or unexpected weather can be part of the experience. As such, layers and preparation are key.
Here’s a good go-to list that I recommend whether spending a few hours or full-day hiking in Mount Rainier:
-
- Backpack
- First aid kit (especially for all-day hikes or backpacking trips)
- Water
- Snacks
- Hiking clothes
- Hiking boots or shoes
- Trekking poles (optional)
- The Ten Essentials
Forgot something? Nearby conveniences
I urge people to have everything they need before hitting the road because smaller towns tend to be pricier, and you’ll never know if they will have what you need. But sometimes we simply forget something.
Ashford is the best place to shop for groceries, merchandise, coffee, and spots to grab a bite. Other small towns, including Cle Elum and Packwood, are about an hour from the park and provide last-chance purchases. One final option is the Mount Rainier Visitor Center. They have a cafeteria, little shops, and small groceries.
Accommodation and places to overnight
Pitching a tent
Camping is one of the most affordable options, at $20 for a standard campsite per night. It’s worth noting that campsites at Mount Rainier are highly competitive and quickly get booked online. While there are first-come, first-serve options, these get snatched up daily too—especially on holidays and weekends. Make sure you plan ahead before heading out for an overnight trip.
Lodging
If a campsite or car camping doesn’t appeal to you, there are some lodging options, including hotels and hostels. Keep in mind that you won’t find a lot of four-star accommodations.
A few options I suggest are Wellspring Spa, located in Ashford at the base of Rainier. There are several log-style options, including a treehouse, all tucked away in the forest. My favorite is Crystal Sky Camp, which offers glamping accommodations that feel like the best of outdoor camping and standard lodging. If either option is beyond your budget, Whittaker’s Motel and Historic Bunkhouse is a good alternative, located in the heart of Ashford. It’s not super fancy, but they are close to diners and shopping.
Nature: Connecting from Within to Others
Being a guide has always given me an outlet to care for people, but it started by being able to recognize my own needs. That fateful trip to Mount Rainier set me on a new path, and helped me to tune in and understand how best to take care of others’ through the outdoors. I enjoy learning that everyone’s interactions and experiences with nature are unique—and I’m all the more appreciative because of how it all started.
Ready to tackle the Mt. Rainier hikes best suited to you? Let Lauren help make the most of your visit to the highest point in the Cascades.